As a New York contractor we are constantly trying to incorporate the best green building techniques to New York and Brooklyn brownstones. The creative use of clay is one of our tools. We just did a another clay wall job in Brooklyn.
We switched the mix up a little to make it a little smoother, less mold receptive and possibly healthier.
Our mix was:
calcium carbonate
white sand
saw dust
clay
wood glue
We omitted two key things: silica dust and wheat paste.
The wood glue replaces the wheat paste. We did this because we found the organic nature of the wheat paste lent itself to mold. The slightest amount of water and you have a wonderful colony of mold growing up the wall.
We took out the silica because of concerns over the possible health issues. Silica is naturally found in sand but pure silica increases the amount drastically. Our concern is that the very slight dusting off the walls could cause unknown health issues years down the road for the tenants.
This may be completely unnecessary and unfounded, and in fact most clay wall mixes suggest silica, but we found we could make a good mix without it so why not? Silicosis is not a pleasant illness.
Other mixes we have had success with are:
clay
silica
white sand
marble dust
fine sand
linseed oil
wheat paste
This one gives a very smooth white finish that you can trowel down so it looks almost like Venetian plaster but still has the benefits of clay. Unlike clay, Venetian plaster goes through a chemical process and is inert. Clay does not and stays “alive” as it interacts with the humidity of the room.
Another mix we use:
clay
calcium carbonate
silica
marble dust
saw dust
The calcium carbonate makes the mix even smoother. You then add saw dust to give a contrasting texture and to add strength to the mix. Typically straw is used but we use what is local and we have lots of saw dust!
There is no right way of doing it as long as it lasts. We sometimes add milk paint either as a binder or for color. White milk paint really lightens up the mix. Milk paint comes in all sorts of great colors that really make the clay pop.
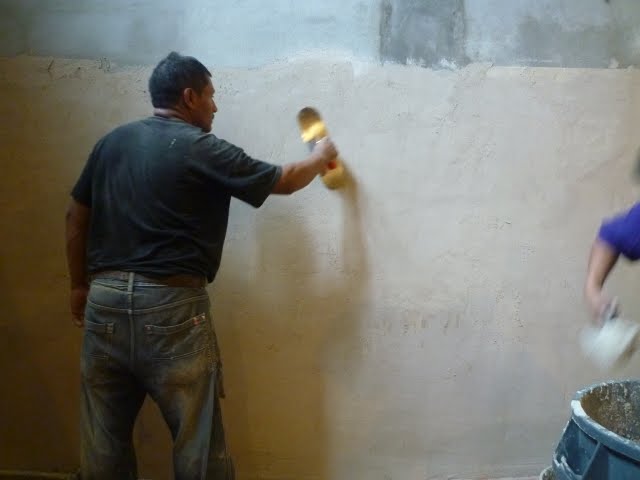
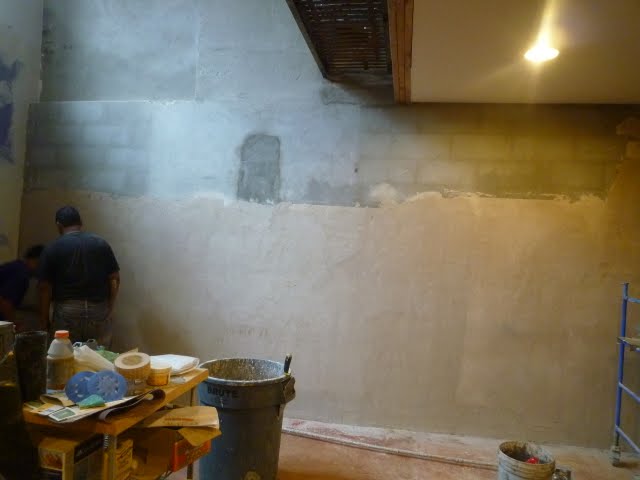
In the most recent mix mentioned at the beginning of the post we applied the clay over a scratch coat of cement that we applied to add strength to the load baring wall. If the wall is brick and you don’t need extra strength you can add it thick over the brick. This is great because you really get a lot of clay in the room. In this case the scratch coat was smooth so we added a thinner layer.
We didn’t add any color so it is the natural beige of the clay. Clay comes in a range of tones from white/gray to dark brown. We tend to go with a light sand color:
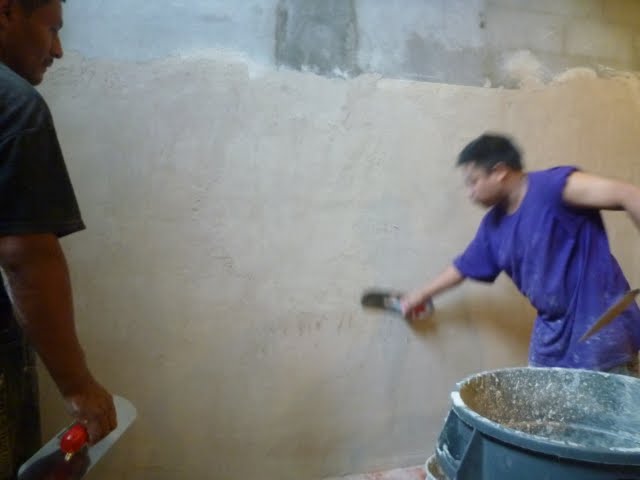
We chose to create a smooth surface and troweled the clay once it had dried a bit:
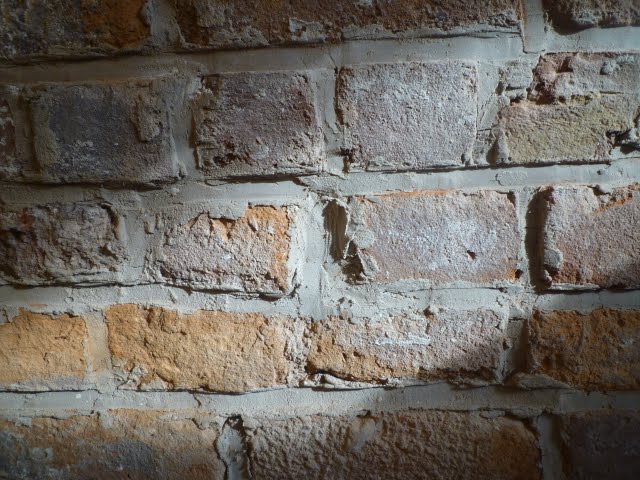
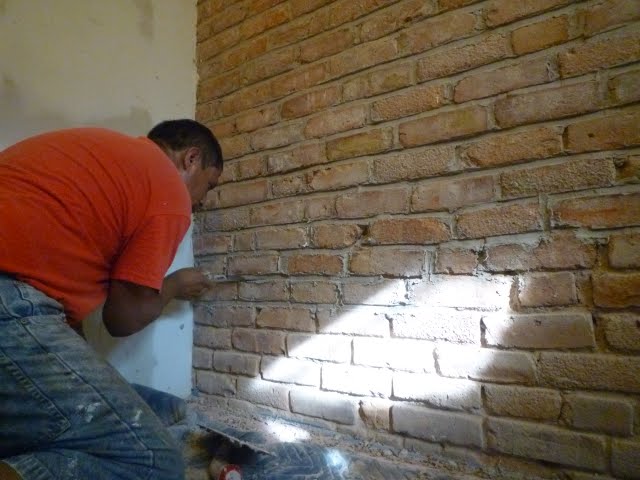
Another experiment we did that worked great was pointing of a brick wall. The interior wall was in need of clean up but we wanted to keep it exposed. So instead of pointing it with mortar we used clay. Clay offers no structural strength to the wall but the the brick was in good enough shape that it didn’t matter.
By pointing with clay we had the advantage of using clay, which has humidity control and possibly even emotional benefits to the inhabitants, and we were still able to leave the bricks exposed.
Here we are pointing the brick wall with clay:
We’ll probably not seal the brick wall, instead we’ll just leave it bare to maximize it’s humidity control function. If you seal a clay wall you reduce it’s benefits drastically.